
Fulfillment Request
Have Infinite Options selections appear in your Shopify Fulfillment Request template, with support adding the code through a collaborator request.
Contact the Support Team (Recommended)
Section titled “Contact the Support Team (Recommended)”We recommend contacting our support team before making changes to your notification templates. Because Shopify’s notification templates can vary between stores and have become more complex over time, we’ll send a collaborator request so we can add the necessary code snippets and ensure your option selections display correctly.
Manual Instructions
Section titled “Manual Instructions”If you’re comfortable editing Shopify Liquid, you’re welcome to follow the manual instructions below. Keep in mind that notification templates vary between stores, so the code location and required changes may differ from the examples in this guide. If you run into any issues, our support team is happy to help.
Follow the instructions below to display option selections in the fulfillment request emails.
1. Starting from your Shopify admin dashboard, navigate to the Settings tab, then click on Notifications.
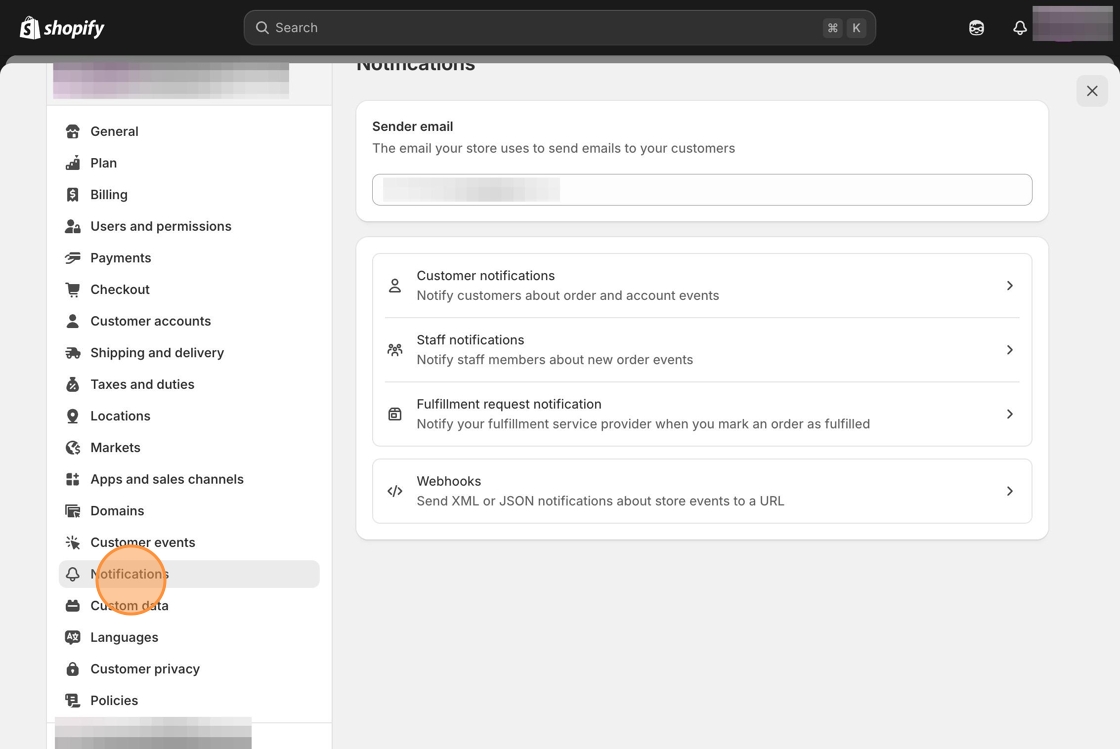
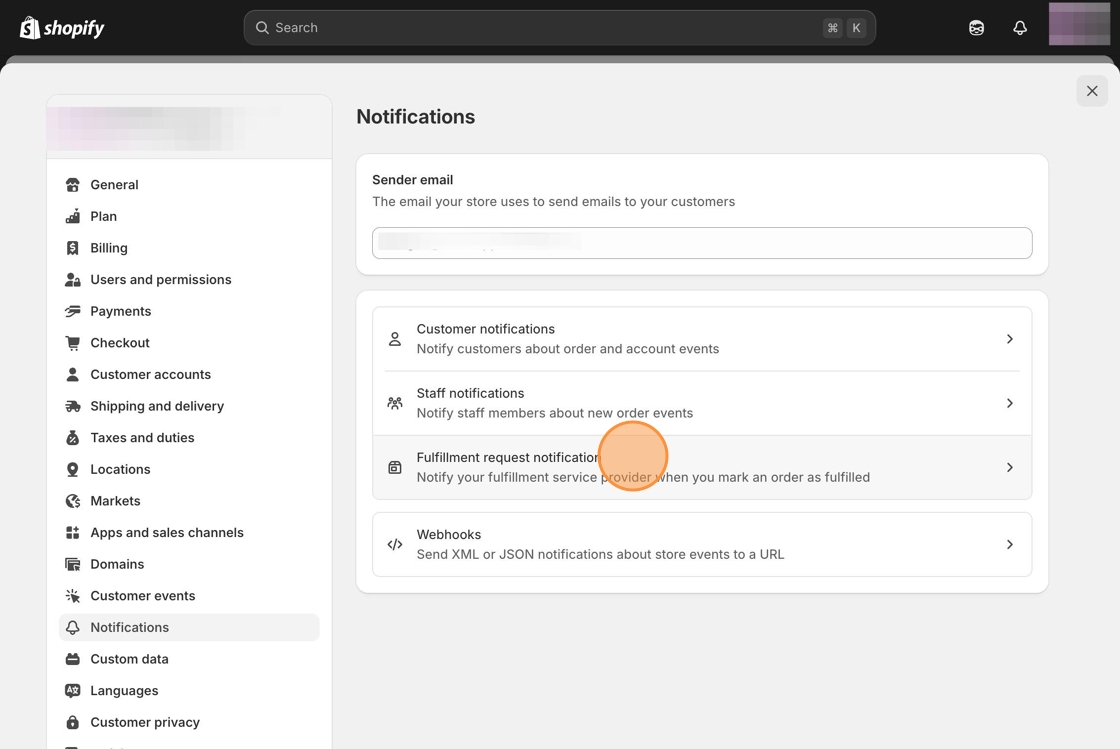
2. Click on the link for the Fulfillment request notification template, then select edit code.
3. Locate the following line of code (remove any unnecessary spaces at the end).
<p>Variant Title: {{ line.line_item.title }}</p>4. Copy and paste the following snippet after it.
{% for p in line.line_item.properties %} {% if p.first contains '_io_' %} {% continue %} {% endif %} {% if p.last %} {% assign name = p.first %} {% assign value = p.last %} {% else %} {% assign name = p.name %} {% assign value = p.value %} {% endif %} {% unless value == blank %} <p> {{ name }}: {% if p.last contains '//uploadery.s3' %} <a style='font-size: 14px;' href="{{ value }}">Link to your file</a> {% else %} {{ value }} {% endif %} </p> {% endunless %}{% endfor %}<br>5. Click the Save button at the top of the page.