
Style file upload fields
Restyle the Uploadery upload button and the text shown before and after a file is uploaded, using CSS and theme code on product.liquid style themes.
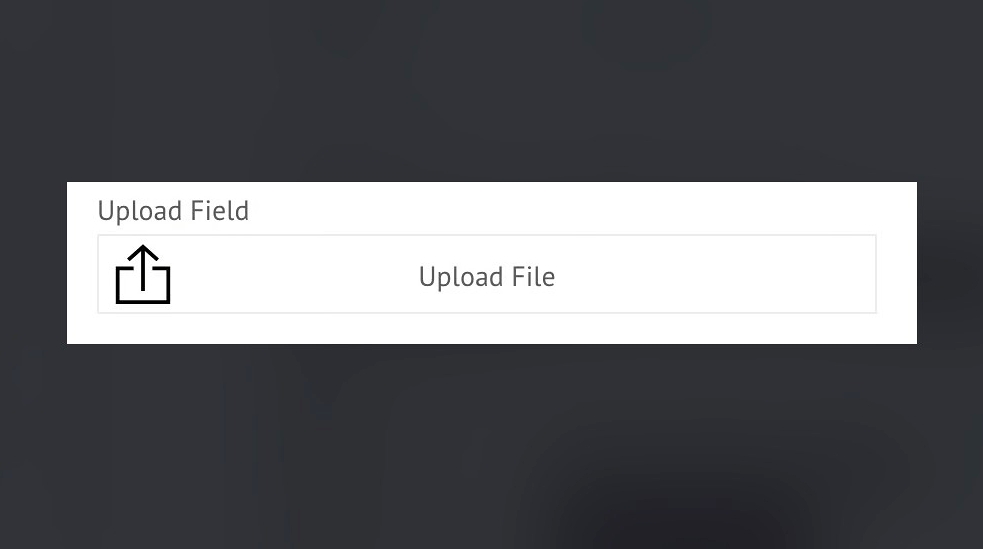
You can customize how Uploadery’s file upload field looks on your product page. This allows you to restyle the upload button and change the text that appears before and after a file is uploaded.
This guide applies to themes that use product.liquid or main-product.liquid.
Follow the steps below to make these changes.
Step 1: Open Your Theme Code
Section titled “Step 1: Open Your Theme Code”From your Shopify admin:
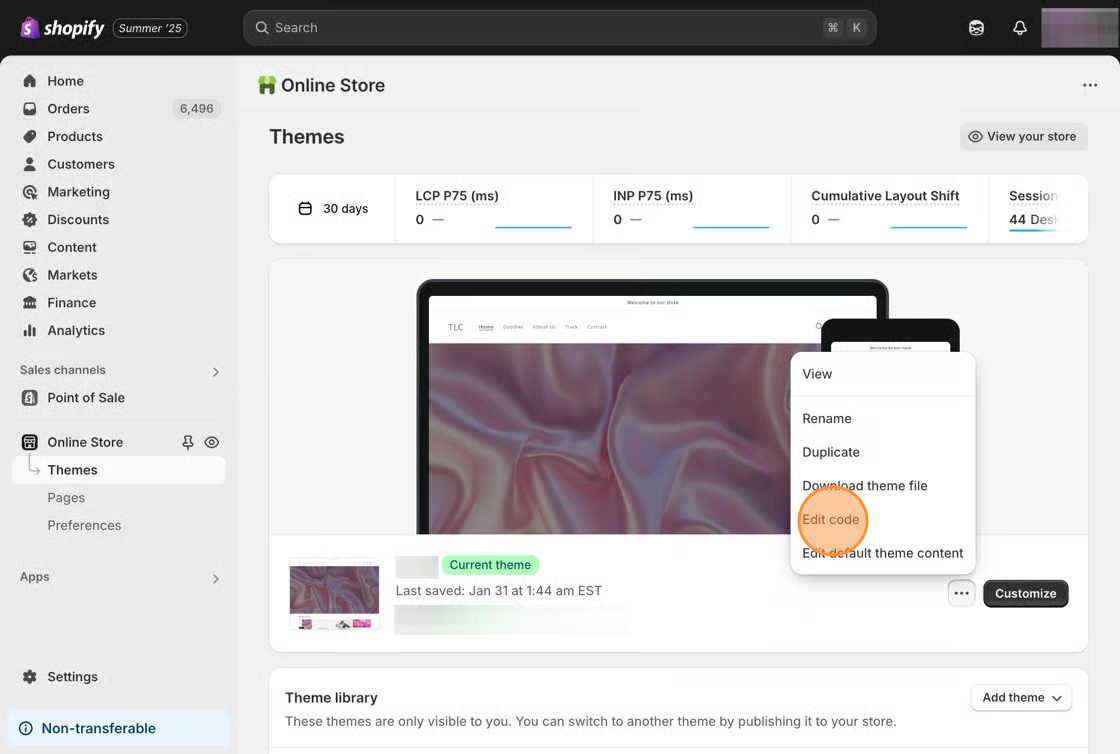
- Go to Online Store > Themes
- Find the theme you want to edit
- Click Actions, then select Edit code
Step 2: Locate Your Product Template File
Section titled “Step 2: Locate Your Product Template File”In the Templates folder, look for:
product.liquidIf your theme does not have product.liquid and instead uses product.jsonGo to the Sections folder and open:
main-product.liquidStep 3: Add the Uploadery Script
Section titled “Step 3: Add the Uploadery Script”Scroll to the bottom of the file and paste the following code:
<script> Shoppad.$(function () { Shoppad.$(document).on( 'uploadSuccess', 'form[data-uploadery]', function (e) { Shoppad.$(e.target).addClass('upload-complete'); } ); });</script>Click Save.
Step 4: Add Custom Styling in Uploadery
Section titled “Step 4: Add Custom Styling in Uploadery”- From your Shopify admin, go to Apps > Uploadery
- Click the Settings tab
- In the Custom CSS field, paste the following code:
#uploadery-container input[type='file'] {  width: 0.1px;  height: 0.1px;  opacity: 0;  overflow: hidden;  position: absolute;  z-index: -1;}
#uploadery-container input[type='file']:active {  outline: none;}
#uploadery-container label > div {  width: 100%;  height: 40px;  cursor: pointer;  border: 1px solid #ececec;  background-image: url('data:image/svg+xml;base64,PD94bWwgdmVyc2lvbj0iMS4wIiBlbmNvZGluZz0idXRmLTgiPz4NCjwhRE9DVFlQRSBzdmcgUFVCTElDICItLy9XM0MvL0RURCBTVkcgMS4xLy9FTiIgImh0dHA6Ly93d3cudzMub3JnL0dyYXBoaWNzL1NWRy8xLjEvRFREL3N2ZzExLmR0ZCI+DQo8c3ZnIHZlcnNpb249IjEuMSIgaWQ9IkxheWVyXzEiIHhtbG5zPSJodHRwOi8vd3d3LnczLm9yZy8yMDAwL3N2ZyIgeG1sbnM6eGxpbms9Imh0dHA6Ly93d3cudzMub3JnLzE5OTkveGxpbmsiIHg9IjBweCIgeT0iMHB4Ig0KCSB2aWV3Qm94PSIwIDAgNjQgNjQiIGVuYWJsZS1iYWNrZ3JvdW5kPSJuZXcgMCAwIDY0IDY0IiB4bWw6c3BhY2U9InByZXNlcnZlIj4NCjxnPg0KCTxnPg0KCQk8Zz4NCgkJCTxwb2x5Z29uIHBvaW50cz0iMzQsNTAgMzAsNTAgMzAsNy40IDE3LjcsMTguNSAxNSwxNS41IDMyLDAuMiA0OSwxNS41IDQ2LjMsMTguNSAzNCw3LjQgIi8+DQoJCTwvZz4NCgk8L2c+DQoJPGc+DQoJCTxnPg0KCQkJPHBvbHlnb24gcG9pbnRzPSI2MSw2NCAzLDY0IDMsMjQgMjIsMjQgMjIsMjggNywyOCA3LDYwIDU3LDYwIDU3LDI4IDQyLDI4IDQyLDI0IDYxLDI0Ii8+DQoJCTwvZz4NCgk8L2c+DQo8L2c+DQo8L3N2Zz4NCg==');  background-size: 30px 30px;  background-repeat: no-repeat;  background-position: 2% center;  text-align: center;  line-height: 42px;}
#uploadery-container label > div:after {  content: 'Upload File';}
#uploadery-container .upload-complete label > div:after {  content: 'Upload Complete!';}
Click Save, then refresh your product page.
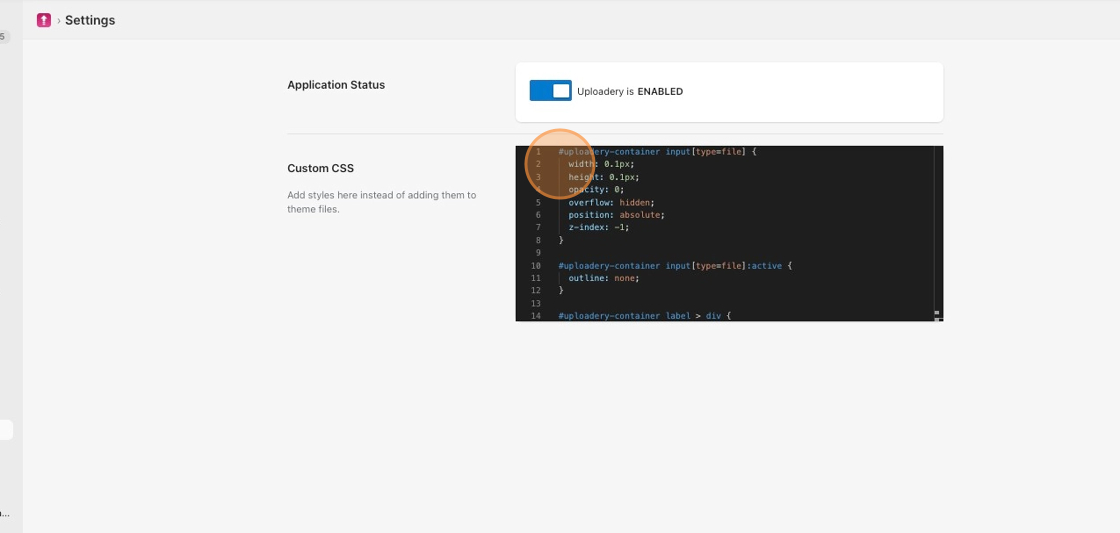
Click Save, then refresh your product page to view the changes.
Updating the Text Within the Upload Field
Section titled “Updating the Text Within the Upload Field”To change the text displayed on the upload button, edit this section of your Custom CSS:
#uploadery-container label > div:after {  content: 'Upload File';}
#uploadery-container .upload-complete label > div:after {  content: 'Upload Complete!';}
Replace the text inside the quotes with your preferred messages.
The first message appears before a file is selected.
The second message appears after the upload is complete.
Click Save and refresh your product page.
Optional: Show the File Name After Upload
Section titled “Optional: Show the File Name After Upload”If you would like the uploaded file name to display instead of “Upload Complete,” follow these steps.
Step 1: Replace the Script in Your Theme File
Section titled “Step 1: Replace the Script in Your Theme File”Remove the script from Step 3 above and replace it with this version:
<script>  Shoppad.$(function() {    Shoppad.$(document).on('uploadSuccess', 'form[data-uploadery]', function(e) {      var uploaderyFileName = e.originalEvent.detail.file.match(/[^\/]+$/)[0];      uploaderyFileName = uploaderyFileName.substr(uploaderyFileName.indexOf('-') + 1);      var $uploaderyActiveField = Shoppad.$(e.target);      $uploaderyActiveField.addClass('upload-complete');
      if ($uploaderyActiveField.find('div')[0].childNodes[0].nodeType === 3) {        $uploaderyActiveField.find('div')[0].childNodes[0].nodeValue = uploaderyFileName;      } else {        var uploaderyFileNameNode = document.createTextNode(uploaderyFileName);        Shoppad.$(uploaderyFileNameNode).insertBefore($uploaderyActiveField.find('input'));      }    });  });</script>
Click Save.
Step 2: Update the Custom CSS
Section titled “Step 2: Update the Custom CSS”Add this snippet to the bottom of your Custom CSS:
#uploadery-container .upload-complete label > div:after { content: none;}Click Save and refresh your product page.