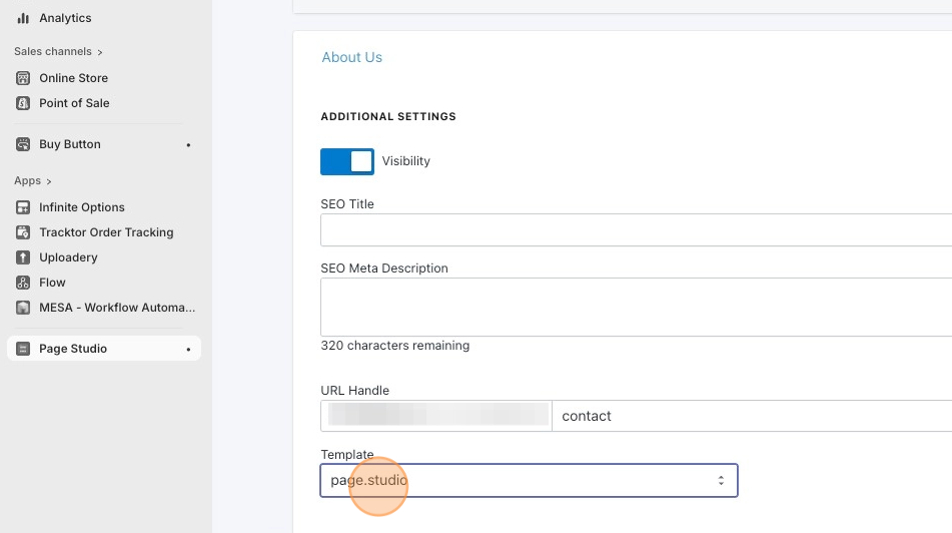
Reinstalling the Page Studio Template After Changing Themes
Recreate the page.studio.liquid template after switching Shopify themes so Page Studio pages keep their styling.
When you switch to a new theme, you must recreate the page.studio.liquid template file in that theme.
Each Shopify theme has its own template files.
Theme files do not transfer when you change themes.
If this file is not added to your new theme, Page Studio styling will not display.
Follow the steps below to add it.
Step 1: Open the Theme Editor
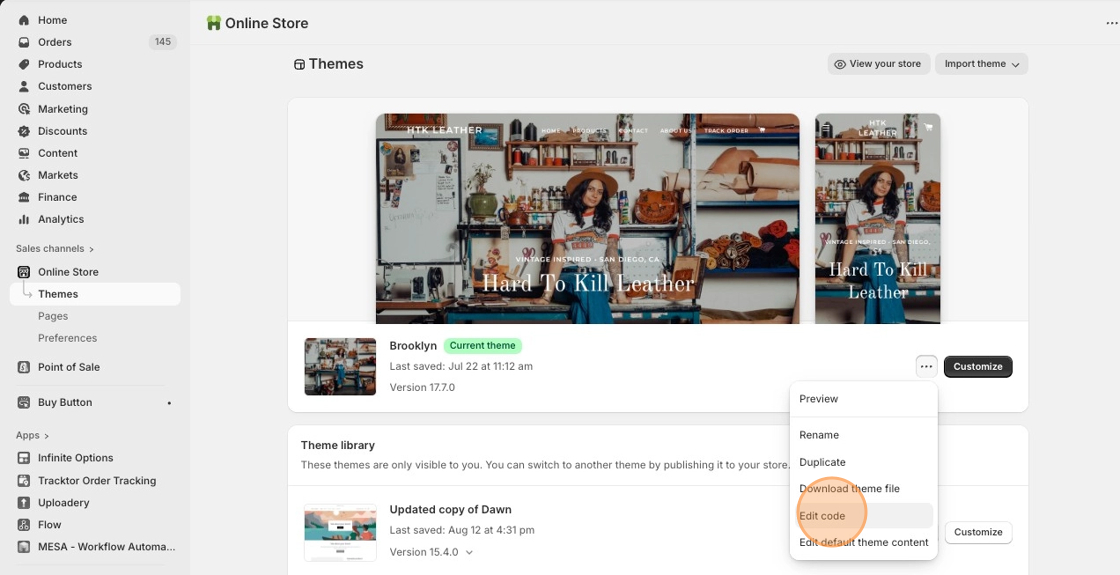
Section titled “Step 1: Open the Theme Editor”- From your Shopify admin, go to Online Store → Themes
- Click Customize next to your new theme and “Edit Code”
Step 2: Create the Template File
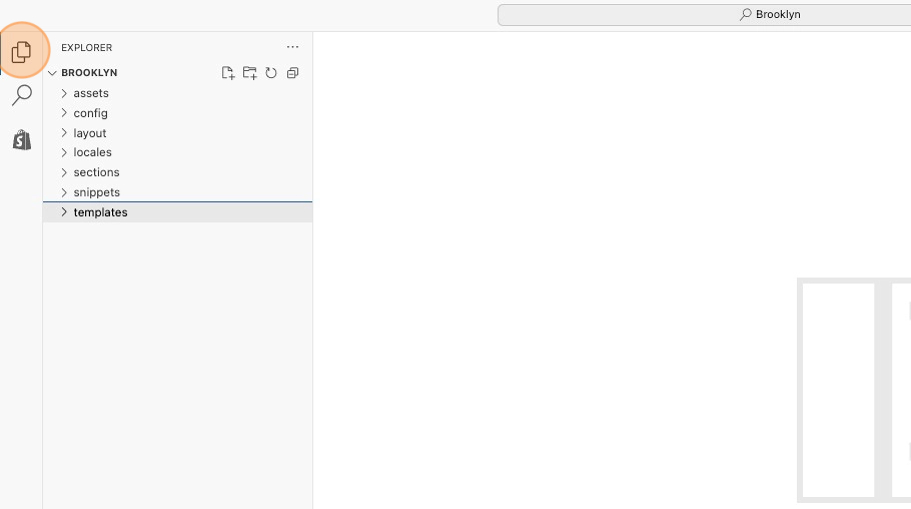
Section titled “Step 2: Create the Template File”- On the left side, click the Files icon to open the File Explorer
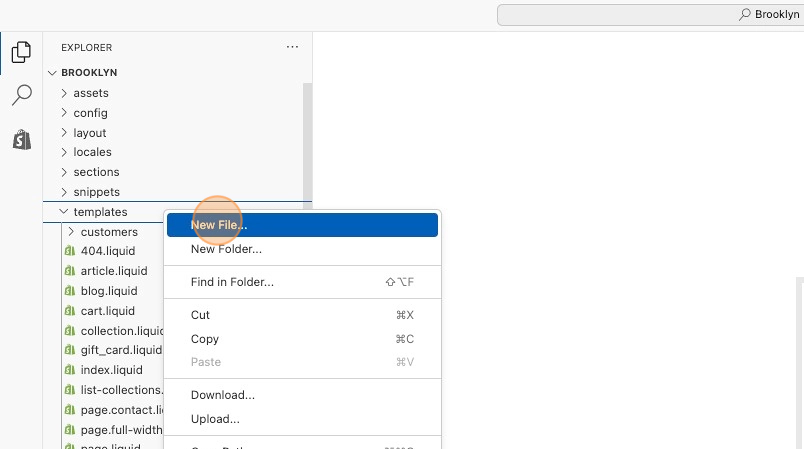
- Right-click on templates
- Select New File
- Name the new file page.studio.liquid and press enter.
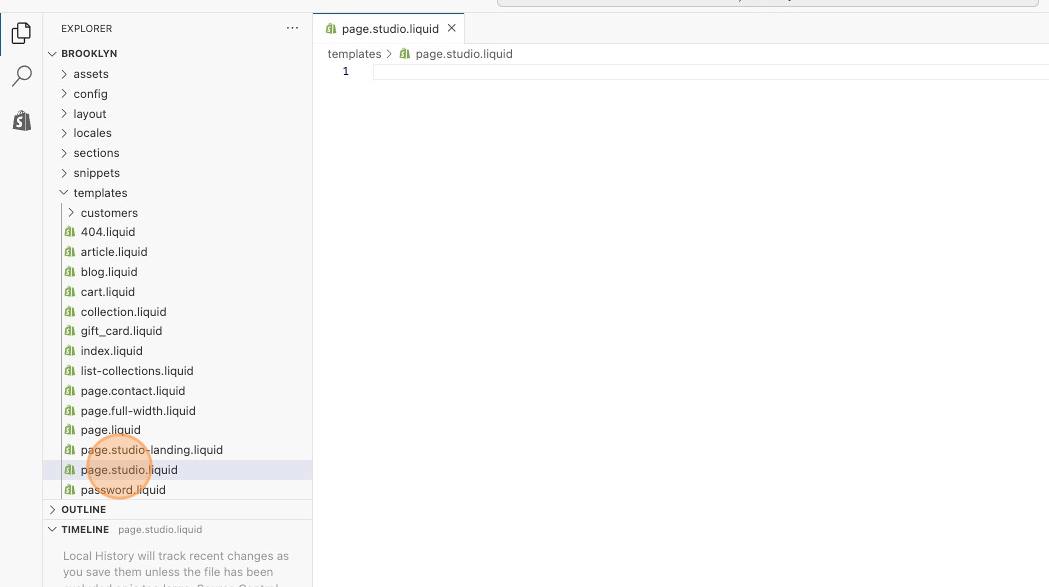
Step 3: Add the Page Studio Code
Section titled “Step 3: Add the Page Studio Code”Copy and paste the code below into the new file:
<link href="//studios.cdn.theshoppad.net/pagestudio/blocks.css?v={{ page.metafields.global.version | default: 3 }}&shop={{ shop.permanent_domain }}" rel="stylesheet" type="text/css"/><script src="//studios.cdn.theshoppad.net/pagestudio/pagestudio.dist.js?v={{ page.metafields.global.version | default: 3 }}"></script><div class="studioengine">{{ page.content }}</div>- Click Save in the top right.
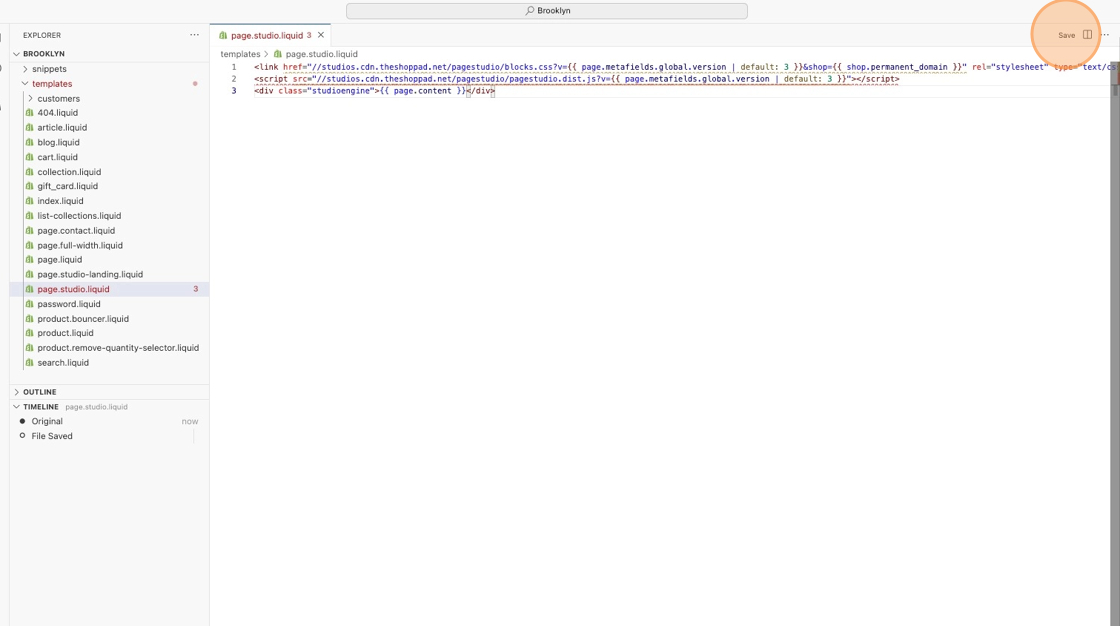
After Saving
Section titled “After Saving”You can now select the page.studio template from the Page Studio dashboard and use it to build your pages.