> For the complete documentation index, see [llms.txt](https://docs.theshoppad.com/uploadery/llms.txt). Markdown versions of documentation pages are available by appending `.md` to page URLs; this page is available as [Markdown](https://docs.theshoppad.com/uploadery/customize-the-app/add-an-image-preview-to-the-product-page.md).
# Add an image preview to the product page
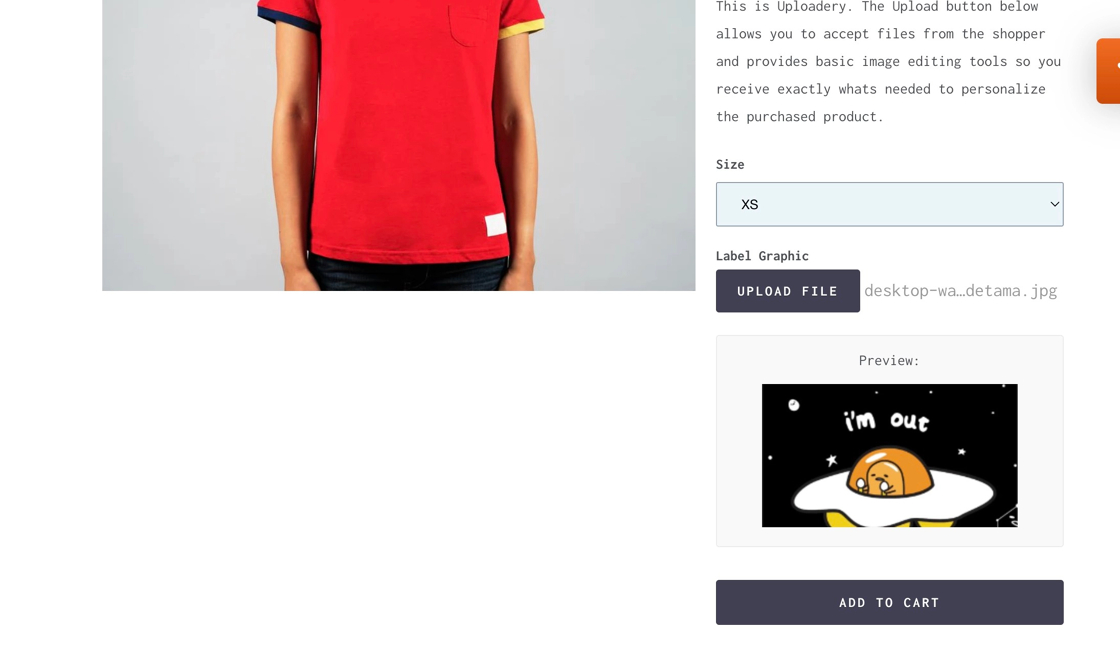
Add an Uploadery image preview to your product page so shoppers can check they chose the correct png, jpg, jpeg or gif file before adding it to the cart.
Adding an image preview to the product page is a great way for customers to ensure they've uploaded the correct file. Follow the steps below to get started.
**Note**: This will only work with rasterized files (.png, .jpg, .jpeg, and .gif).
### Getting Started...
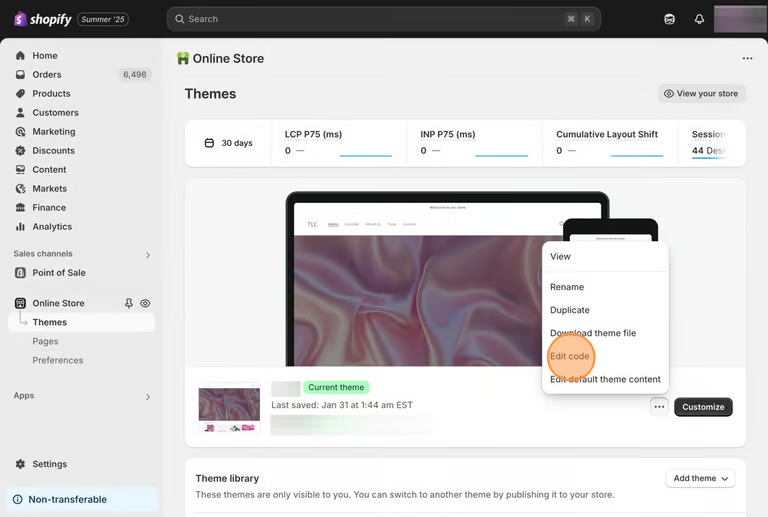
1\. Starting from your Shopify admin dashboard, click on **Online Store**, then click on **Themes.**
2\. Find the theme you want to edit, click the **Actions** button, then click **Edit code.**
3\. In the **Templates** folder, open the **product.liquid** file. If your theme does not have a product.liquid file and if you see a product.json file, locate a file called **main-product.liquid** file in the **Sections** folder.
4\. Paste the following code snippet at the bottom of that file.
```html
```
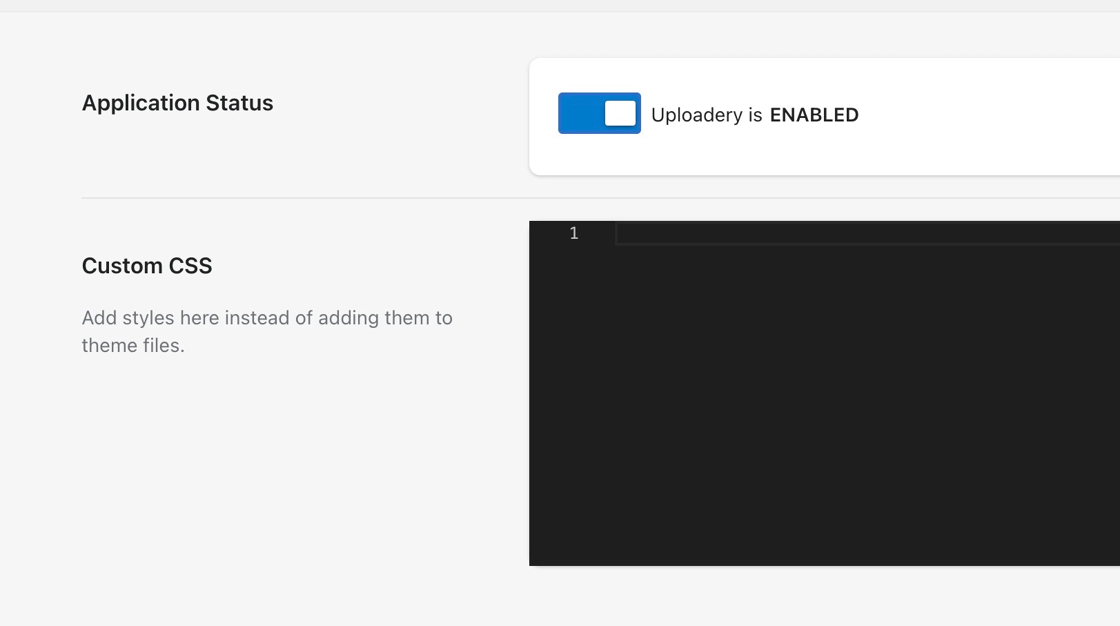
5\. After the code is placed in the theme editor, navigate to the Uploadery dashboard, within the **Settings** section. Locate the **Custom CSS** field.
6\. Paste the following code snippet in the field.
```css
.uploaderyResponse {
display: inline-block;
width: 100%;
max-width: 100%;
text-align: center;
padding: 10px;
background: #F5F5F5;
box-sizing: border-box;
border: 1px solid #ececec;
margin-bottom: 10px;
margin-top: 10px;
}
.uploaderyResponse p {
width: 100%;
}
```
7\. **Save** your changes.
:::note
**Note:** If you need any help getting this set up, feel free to contact our support team. Certain themes may require a bit of additional code. We'd be happy to help out!
:::