> For the complete documentation index, see [llms.txt](https://docs.theshoppad.com/pagestudio/llms.txt). Markdown versions of documentation pages are available by appending `.md` to page URLs; this page is available as [Markdown](https://docs.theshoppad.com/pagestudio/customize-the-app/add-and-adjust-images-on-your-page.md).
# Add and adjust images on your page
Add images to a Page Studio page, then resize, replace and position them.
Follow the steps below on how to add and adjust images on your page. Topics discussed in this article are:
* [Add images on your page](https://docs.theshoppad.com/pagestudio/customize-the-app/add-and-adjust-images-on-your-page/#add-images)
* [Add GIF images on your page](https://docs.theshoppad.com/pagestudio/customize-the-app/add-and-adjust-images-on-your-page/#add-gif-images)
* [Adjust images on your page](https://docs.theshoppad.com/pagestudio/customize-the-app/add-and-adjust-images-on-your-page/#adjust-images)
* [Adjust a section's background image](https://docs.theshoppad.com/pagestudio/customize-the-app/add-and-adjust-images-on-your-page/#adjust-section)
### Add images on your page
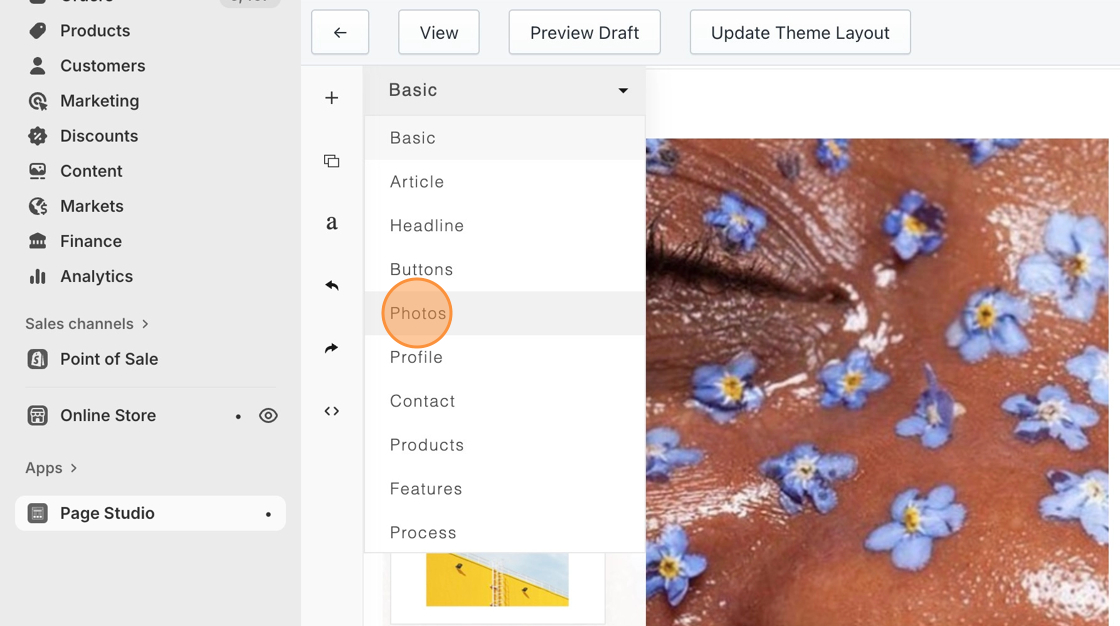
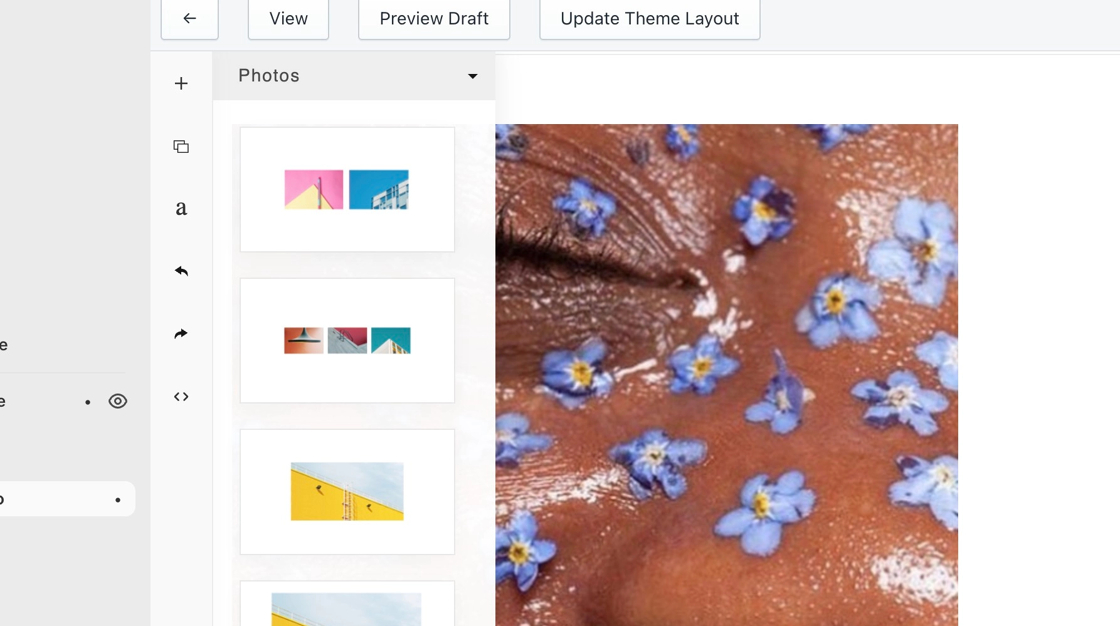
To add images to your page, you can click on the **Content Block icon**, under the **+ icon**. You can select the drop-down menu on top and select Photos or other different content blocks.
Once you have found the perfect content block, you can drag and drop it into your page until you see a gray box. Once you do, release your cursor and you can see the added content block on your page.
### Add GIF images on your page
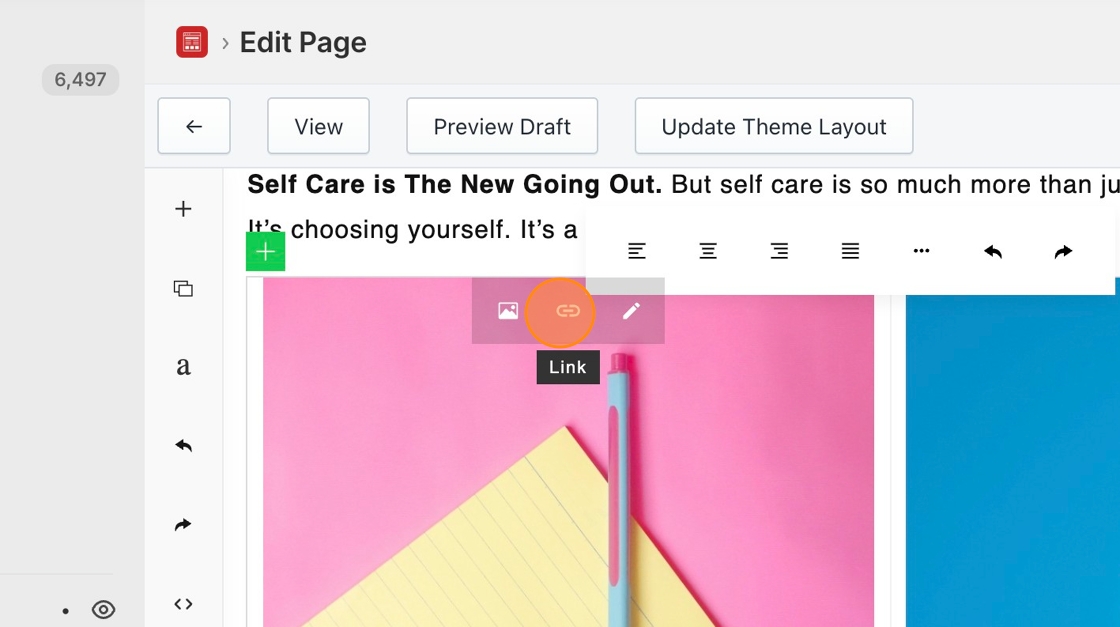
In order to add a GIF image to your page, click onto the image, then select the **Link icon**.
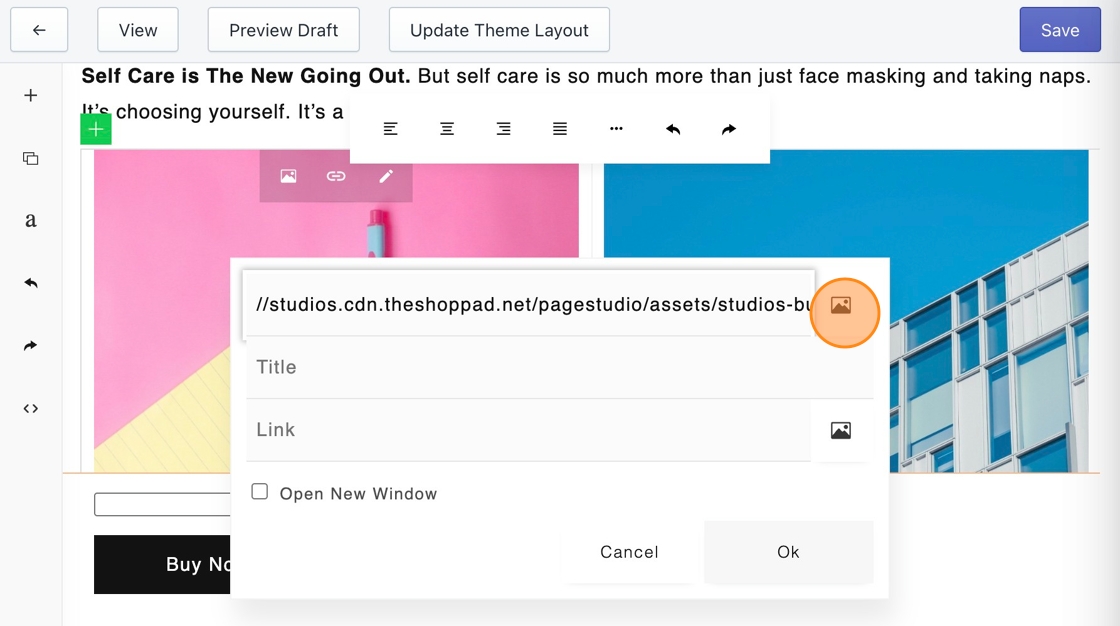
Upload the GIF image with the **Image icon** and wait until the image link is refreshed. Click **Ok** and see the image displaying on your page.
### Adjust images on your page
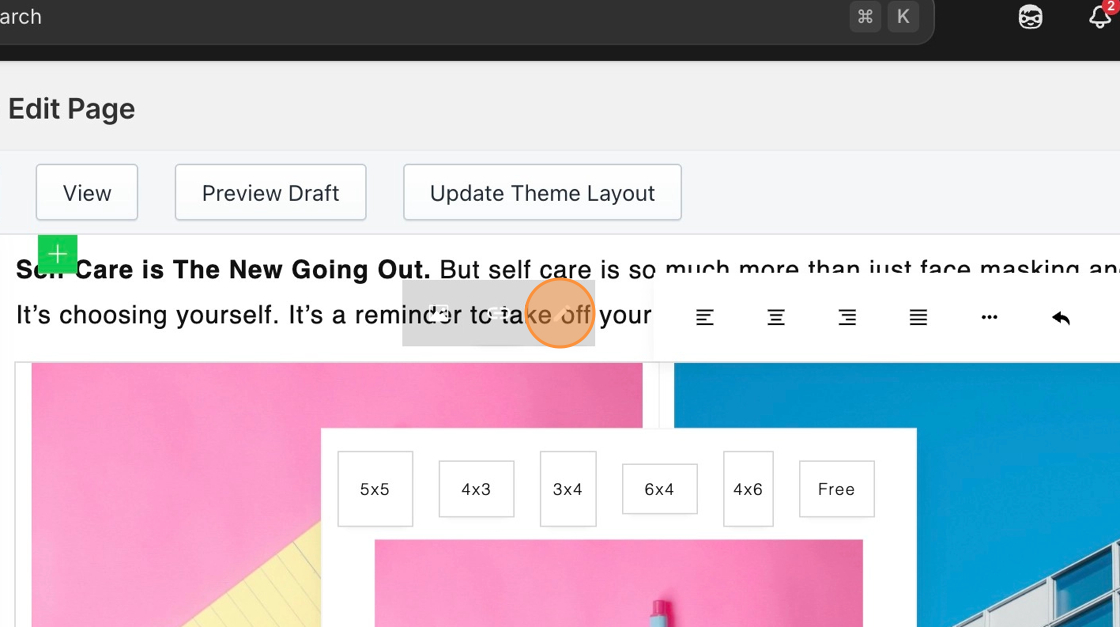
When you click on an image, you will see three icons:
* **Image icon:** Upload a different image from your device
* **Link icon:** Contains the image's url, title, link, and Open New Window settings
* **Pencil icon:** Resize the image
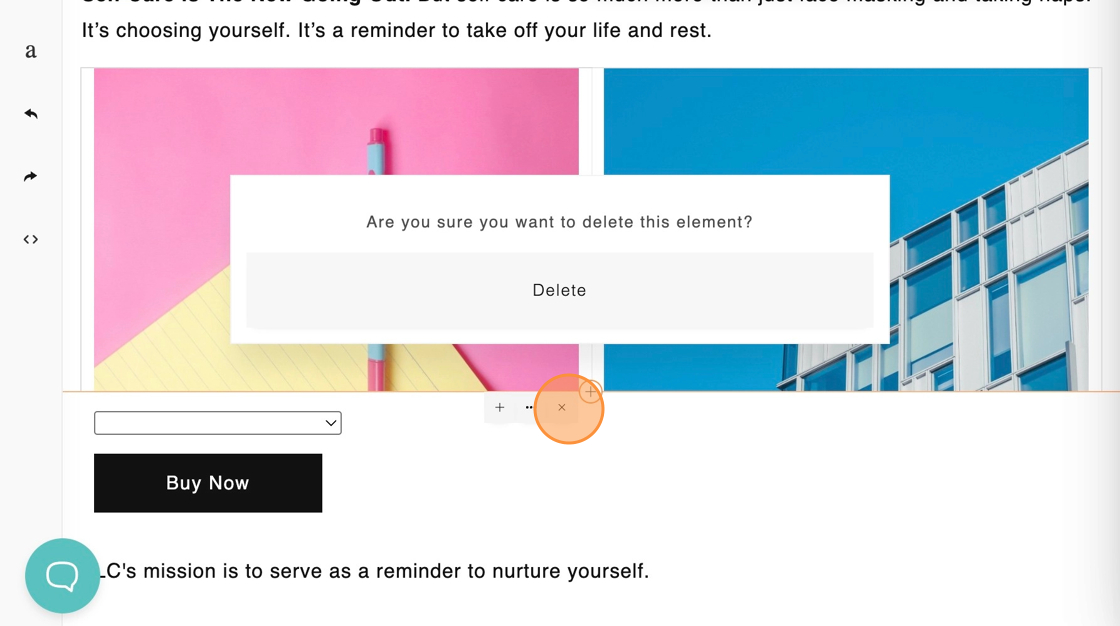
On the bottom of the selected image, you will see three icons:
* **+ icon**: Add more content blocks
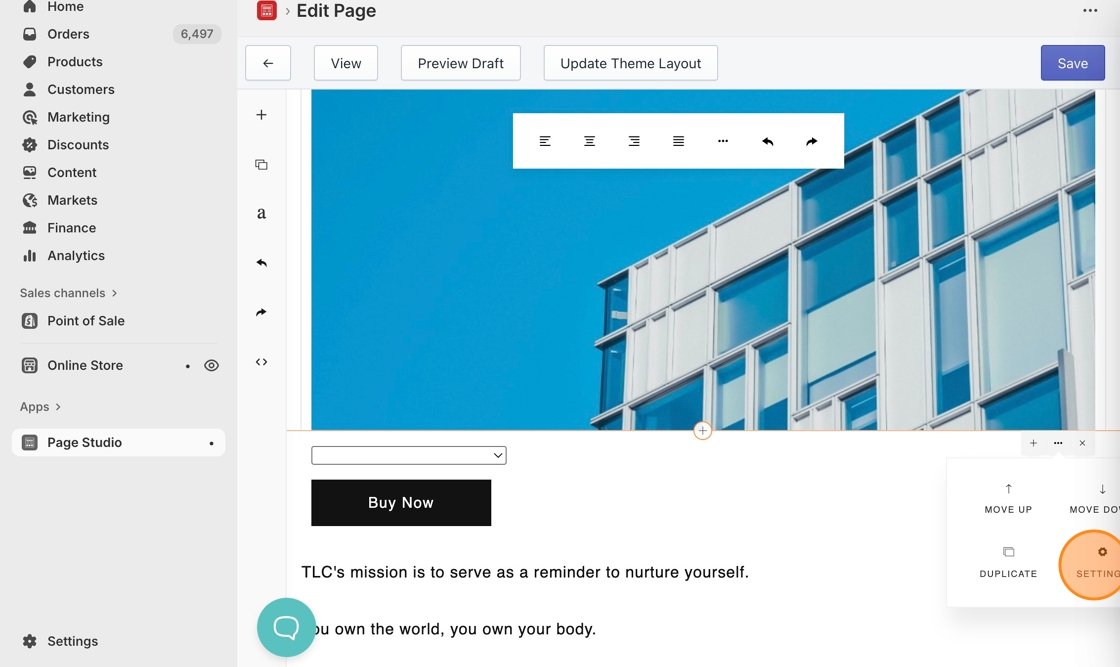
* **... icon**: More settings - Move Up, Move Down, Duplicate, Settings
* **x icon**: Remove the image
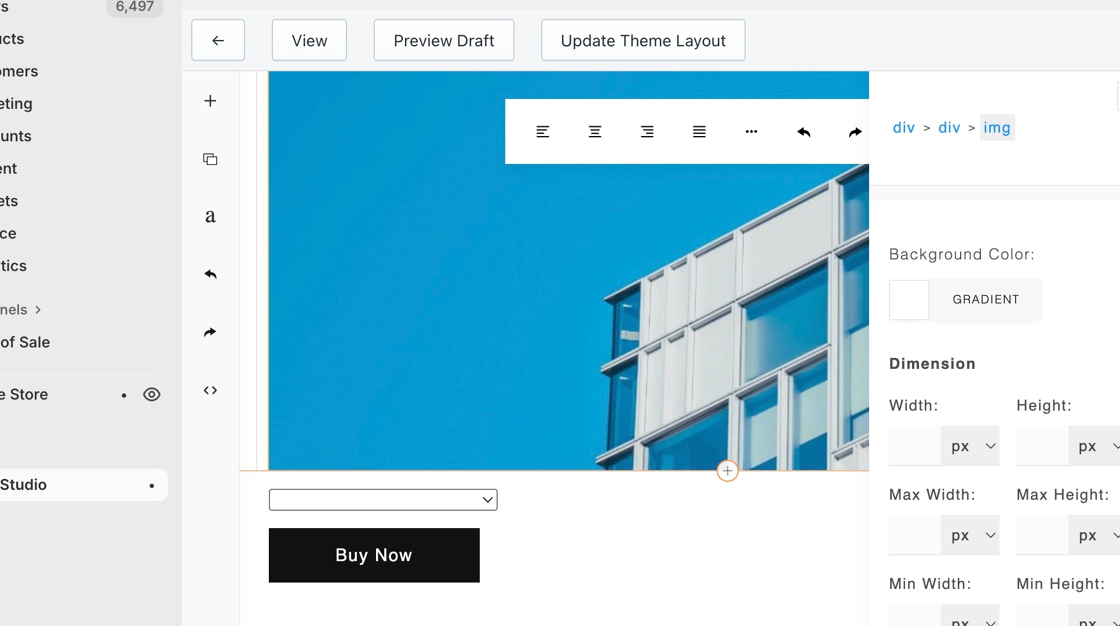
From the image above, the Settings button will contain a variety of formatting settings that you can play with.
### Adjust a section's background image
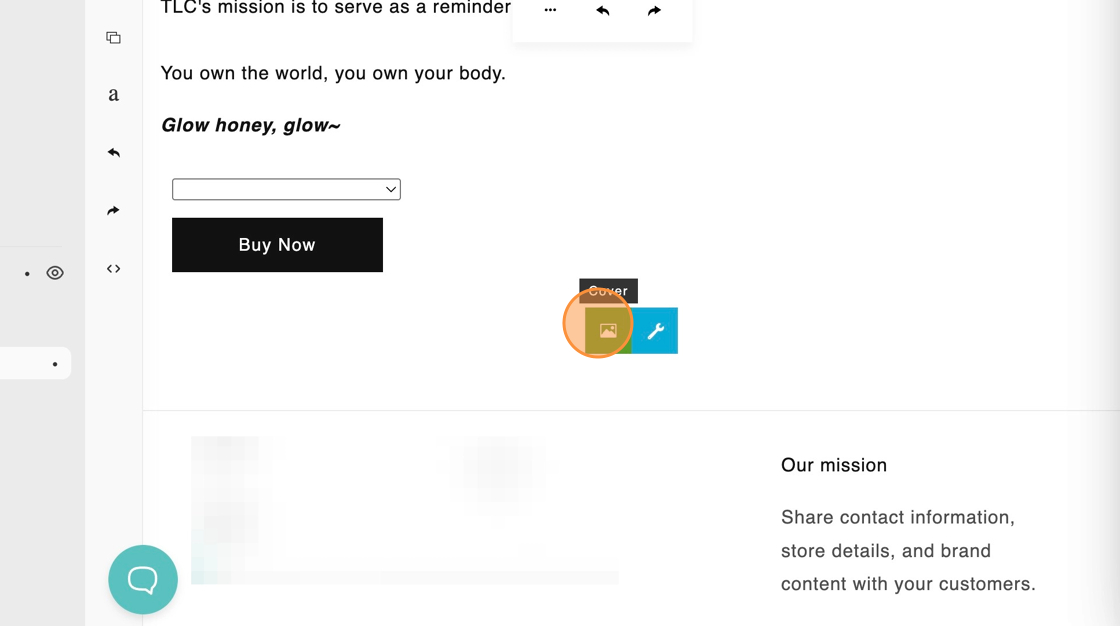
When clicking on the section, you will see a green image icon on the bottom of the section. Clicking on it will allow you to change the section's background.