> For the complete documentation index, see [llms.txt](https://docs.theshoppad.com/infinite-options/llms.txt). Markdown versions of documentation pages are available by appending `.md` to page URLs; this page is available as [Markdown](https://docs.theshoppad.com/infinite-options/popular-setups/up-charge-pricing-and-text-box.md).
# Up-charge Pricing + Text Box
Charge extra when a shopper picks an Infinite Options radio button, such as custom thread color, and reveal a text box for their entry.
This guide shows how to display a custom add-on when a radio button is selected, resulting in an additional cost.
[https://www.youtube-nocookie.com/embed/e8d8VwwlbCI?rel=0](https://www.youtube-nocookie.com/embed/e8d8VwwlbCI?rel=0)
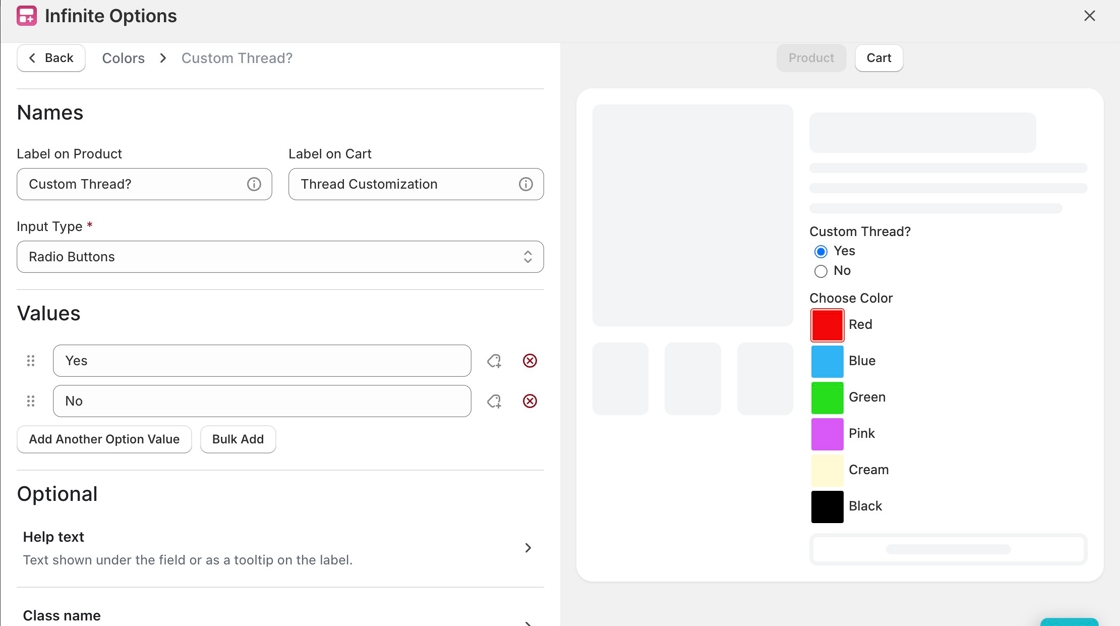
1\. Create a new option set with a checkbox, dropdown, or radio button option. This option should ask if the customer wants to add a custom thread color for an additional cost.
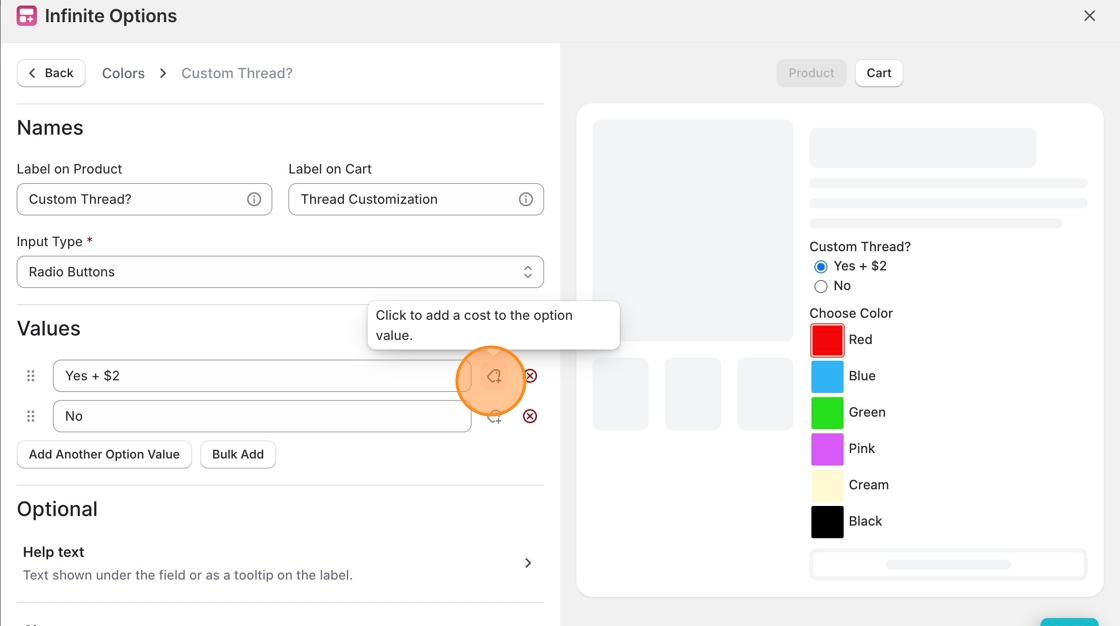
2\. Click on the price tag icon to the right of the value. To include an additional cost, [bundle](https://infinite-options.docs.theshoppad.com/increase-the-cost-of-an-option/native-bundling) your engraving product to the option value that represents "yes".
We highly recommend adding the cost in the option value for customer transparency. (i.e. "Yes +$2")
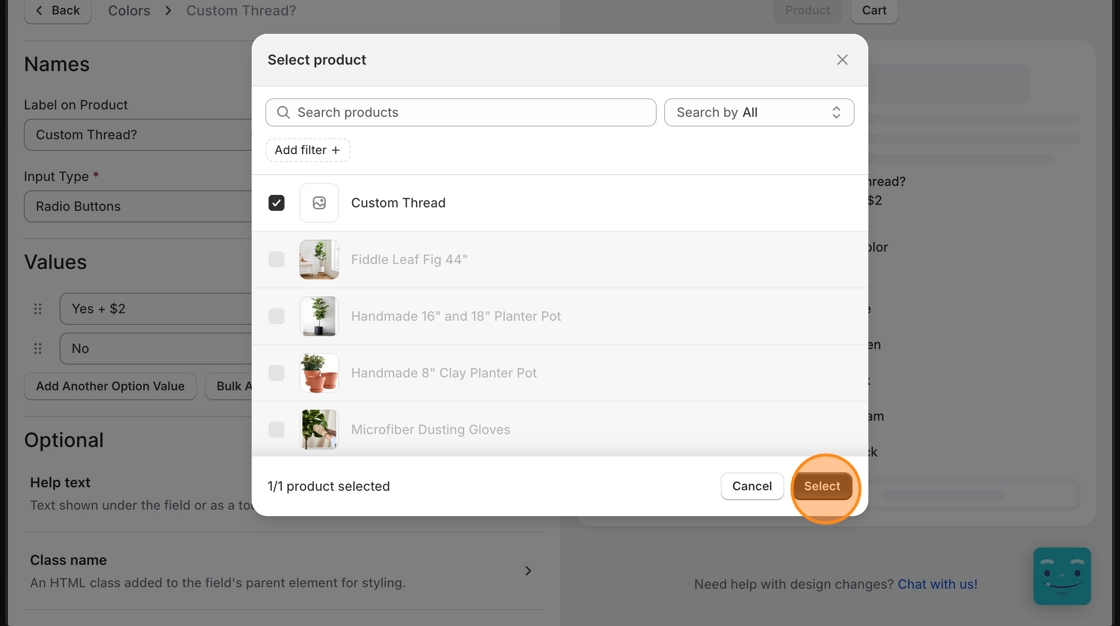
3\. Make sure you have a product created on your store for this add-on option. In this case, I will be using a product called Custom Thread:
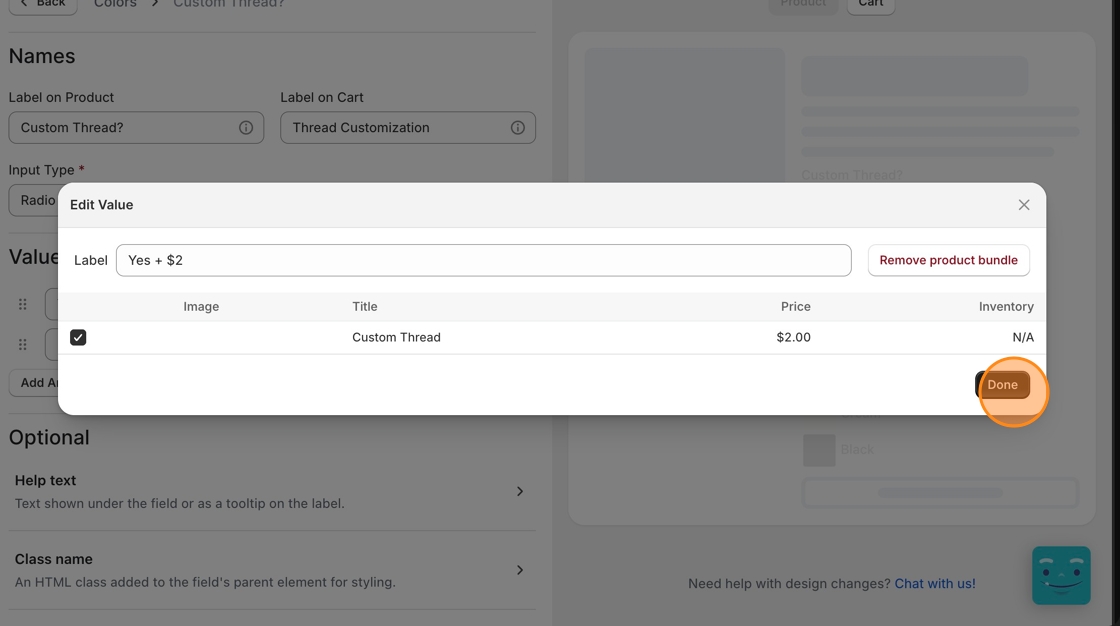
4\. Select the product that applies, click **Add**, and then click **Done** to complete set up.
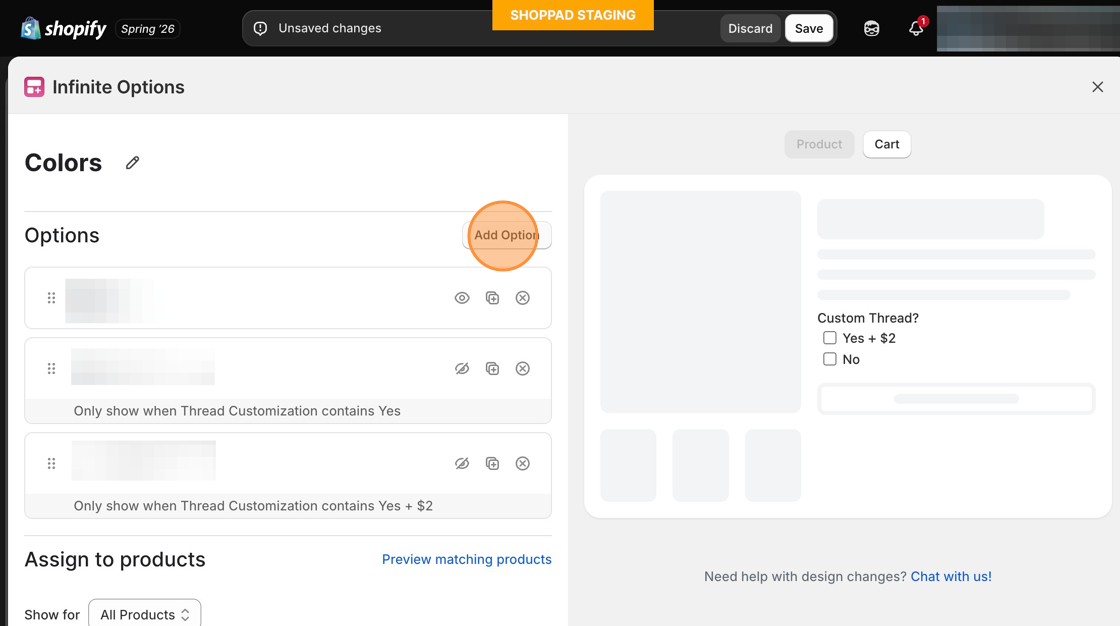
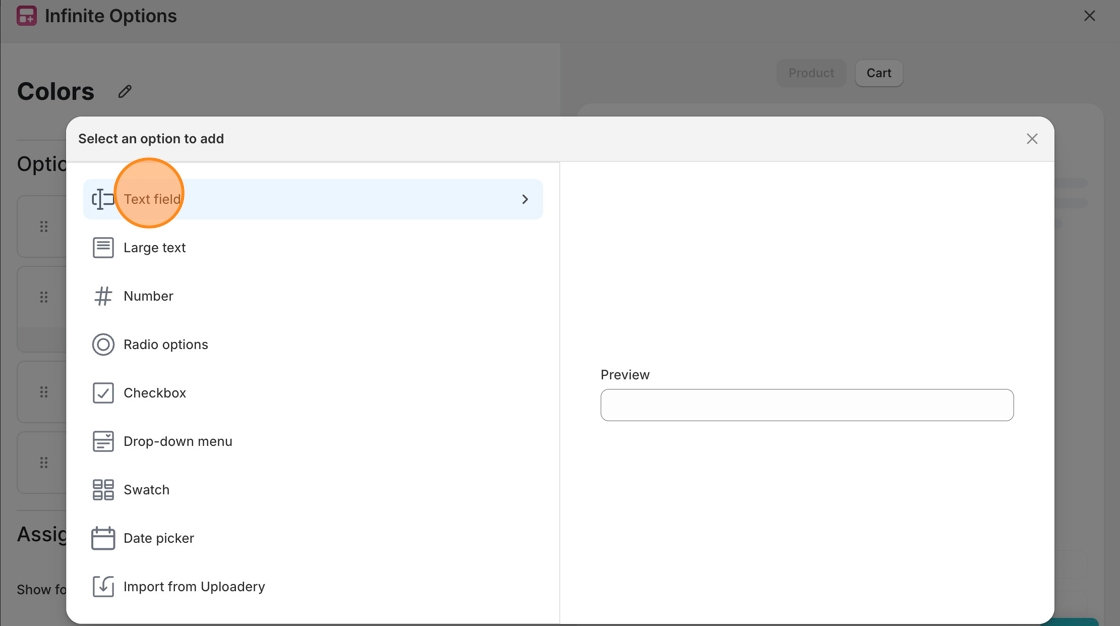
5\. Next, create the text box option for the embroidery by selecting **Add Option** then select **Text field.**
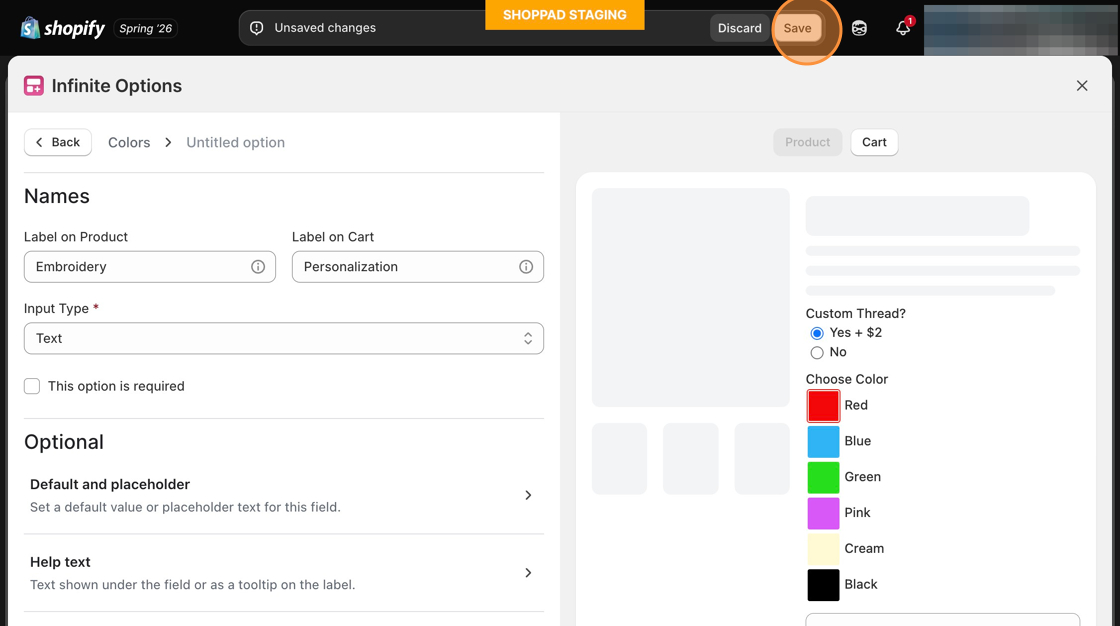
6\. Input the desired Label on Product and Label on Cart then be sure to select save changes.
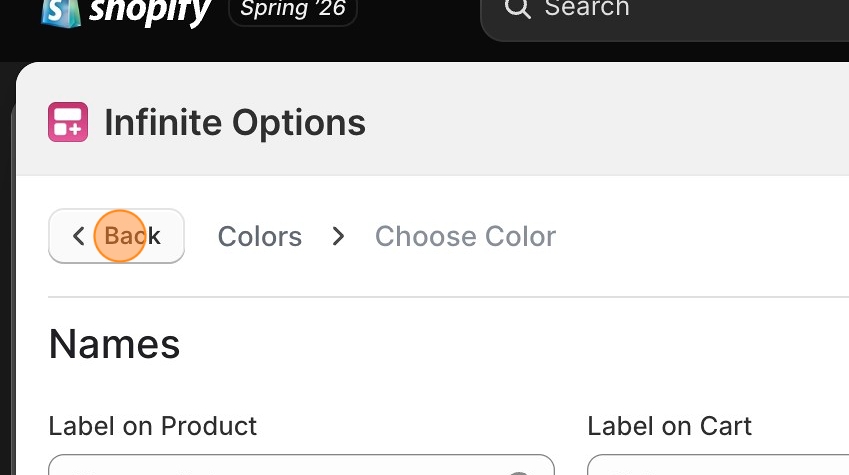
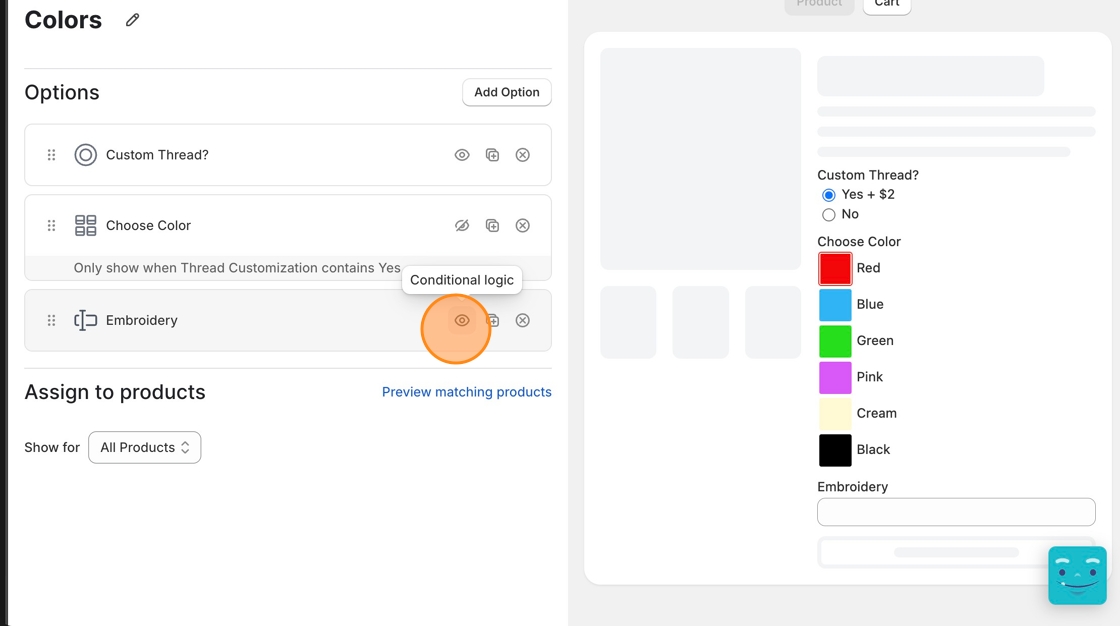
8\. Navigate back to the main view of your list of created Options then select the eye icon to set up your conditional logic settings
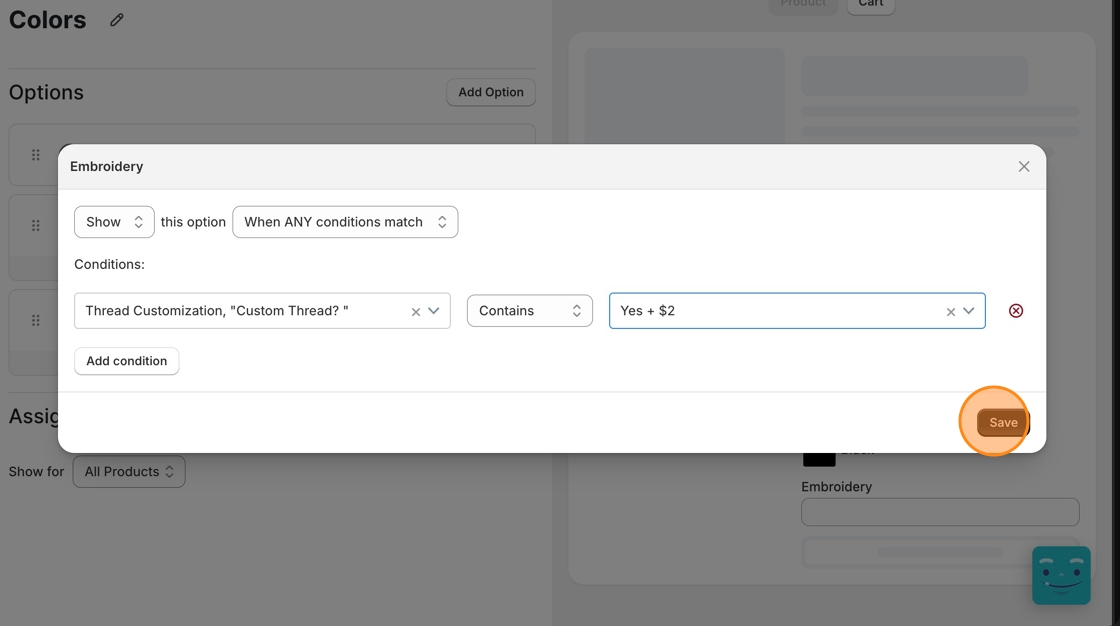
9. This conditional rule will be set to display the embroidery text field when a customer selects "Yes +$2" for the Custom Thread option.
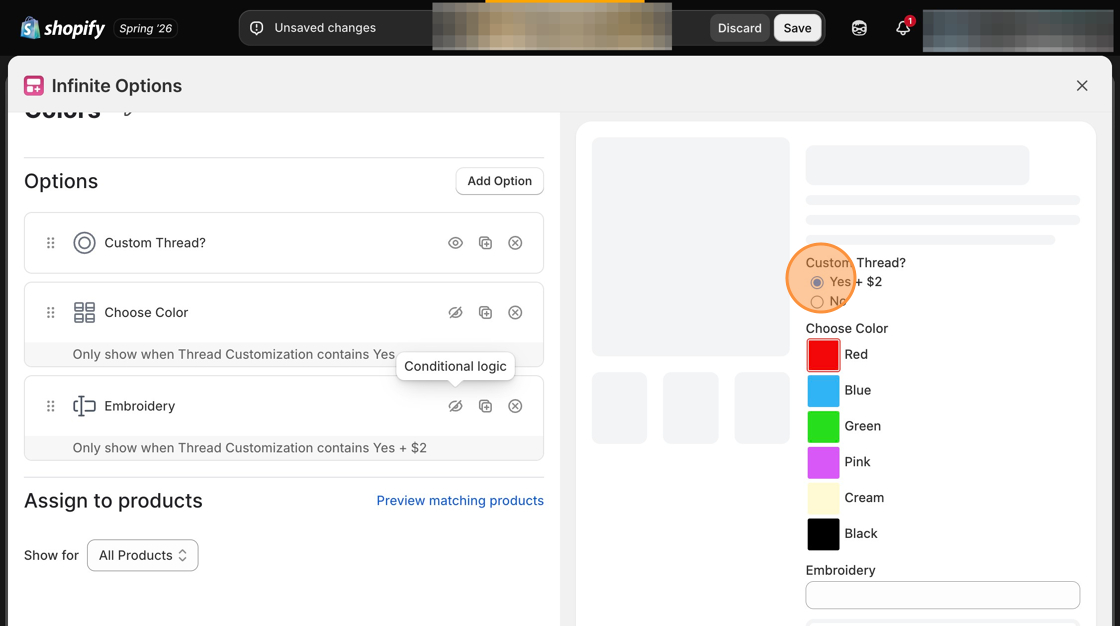
10. You can preview and test the conditional logic that you've set up on the right-hand side.
11\. Remember to always save your changes on the top navigation bar.
:::note
You can see the conditions you have set up within the option set in the view that lists your created Options. Simply re-select the eye icon to make any adjustments to the conditional logic settings.
:::
12. Now, you have created a price add-on with a conditional text box! 🥂